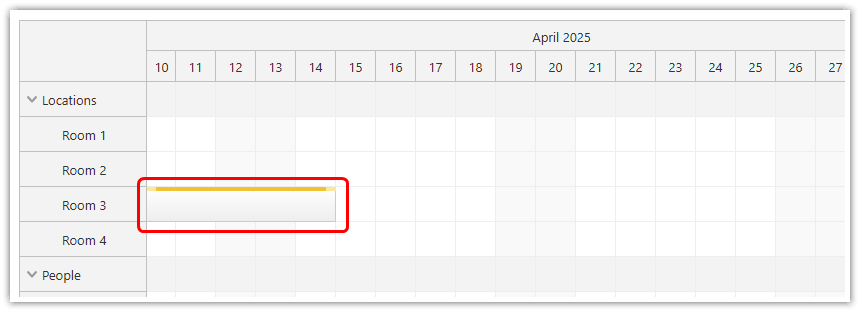
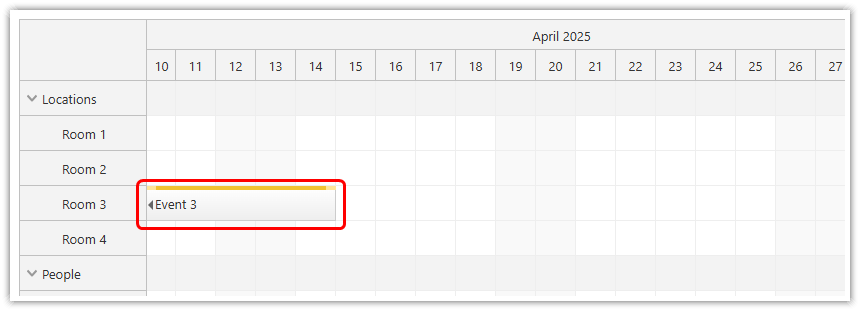
The JavaScript Scheduler can display a special floating <div> for events that are not fully visible in the current viewport (long events that start in the past).
The floating div includes the event text and selected active areas. This makes the content always visible, regardless of the scrollbar position.
Floating events turned off

Floating events turned on

Notes:
-
Floating events are enabled by default. You can enable/disable this behavior using the floatingEvents property.
-
The themes created using the online theme designer include a style for floating events.
-
Floating events work in combination with the active areas. The active areas will be displayed on top of the floating div.
-
You may want to disable it if you are using a lot of custom structured HTML inside the events.
-
The floating divs are adjusted automatically during scrolling. If you experience performance problems try turning the floating events off.
CSS
You can specify the style of the floating <div> using *_event_float and *_event_float_inner classes.
.scheduler_default_event {
  font-size:12px;
  color:#666;
}
.scheduler_default_event_float_inner {
  padding:6px 2px 2px 8px;
}
.scheduler_default_event_float_inner:after {
  content:"";
  border-color: transparent #666 transparent transparent;
  border-style:solid;
  border-width:5px;
  width:0;
  height:0;
  position:absolute;
  top:8px;
  left:-4px;
}
JavaScript
Example:
<div id="scheduler"></div>

<script>
  const scheduler = new DayPilot.Scheduler("scheduler", {
    floatingEvents: false,
    // ...
  });
  scheduler.init();
</script>
AngularJS
Example:
<div ng-app="main" ng-controller="SchedulerCtrl" >
  <daypilot-scheduler id="dp" daypilot-config="config" ></daypilot-scheduler>
</div>

<script>
  var app = angular.module('main', ['daypilot']).controller('SchedulerCtrl', function($scope) {

      $scope.config = {
        floatingEvents: false,
        // ...
      };

  }
</script> DayPilot